The Power of Normals: Bringing 3D Models to Life
12 August 2025
Let’s face it—3D modeling is like the Hollywood of the digital art world. You’ve got your A-list stars—textures, lighting, and polygons—stealing all the spotlight. But hold up, what about the unsung hero of the 3D process? Yup, I’m talking about normals. You might be casually scrolling through Blender tutorials or flipping through 3ds Max guides wondering, “What even are normals?” Well, let me tell you, they’re the MVPs quietly working behind the scenes, making 3D models go from flat and boring to “dang, that looks real!”
So buckle up, gamers, artists, and digital dreamers, because we’re diving headfirst into the powerful (and kinda magical) world of normals. By the end of this ride, you’ll never take this incredible tool for granted again.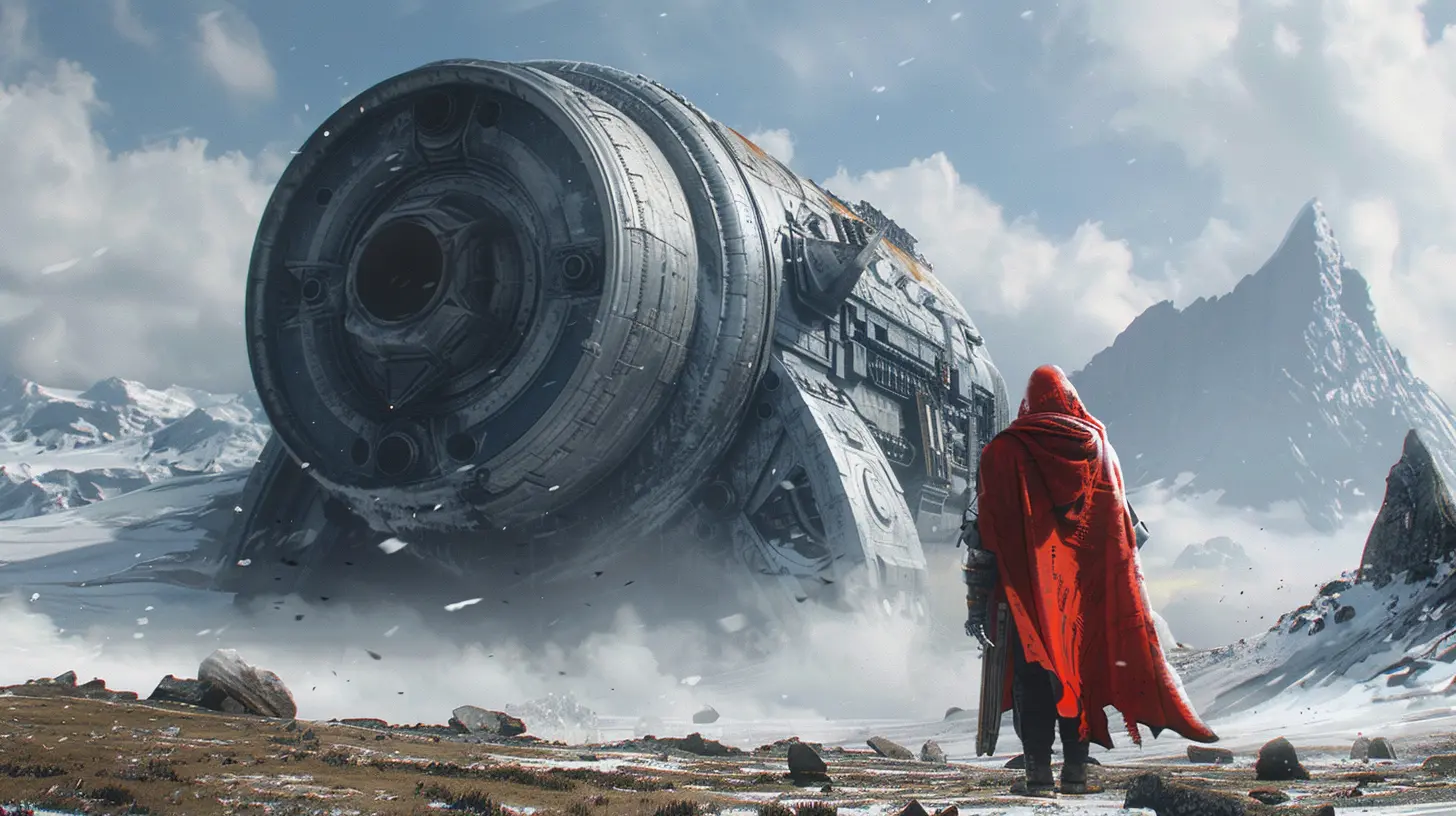
What the Heck Are Normals Anyway?
Alright, let’s start from square one. Normals aren’t some mystical game developer jargon—they’re actually pretty simple once you get the gist. Think of normals like tiny, invisible arrows that stick out from the surface of a 3D model. These arrows tell the software how light should interact with the object’s surface.Picture this: You’re holding a flashlight (aka a light source) and shining it on a basketball. The way the light hits the ball and bounces off gives it that distinctive round look. Normals are basically what dictate the direction of those reflections. Without them, you’d just have a shapeless blob. No one wants that.
In the 3D world, normals are life. They control shading, depth, and realism. Whether you’re creating a Viking shield for your RPG game or animating a futuristic spaceship, normals are the secret sauce bringing that extra pizzazz to your work.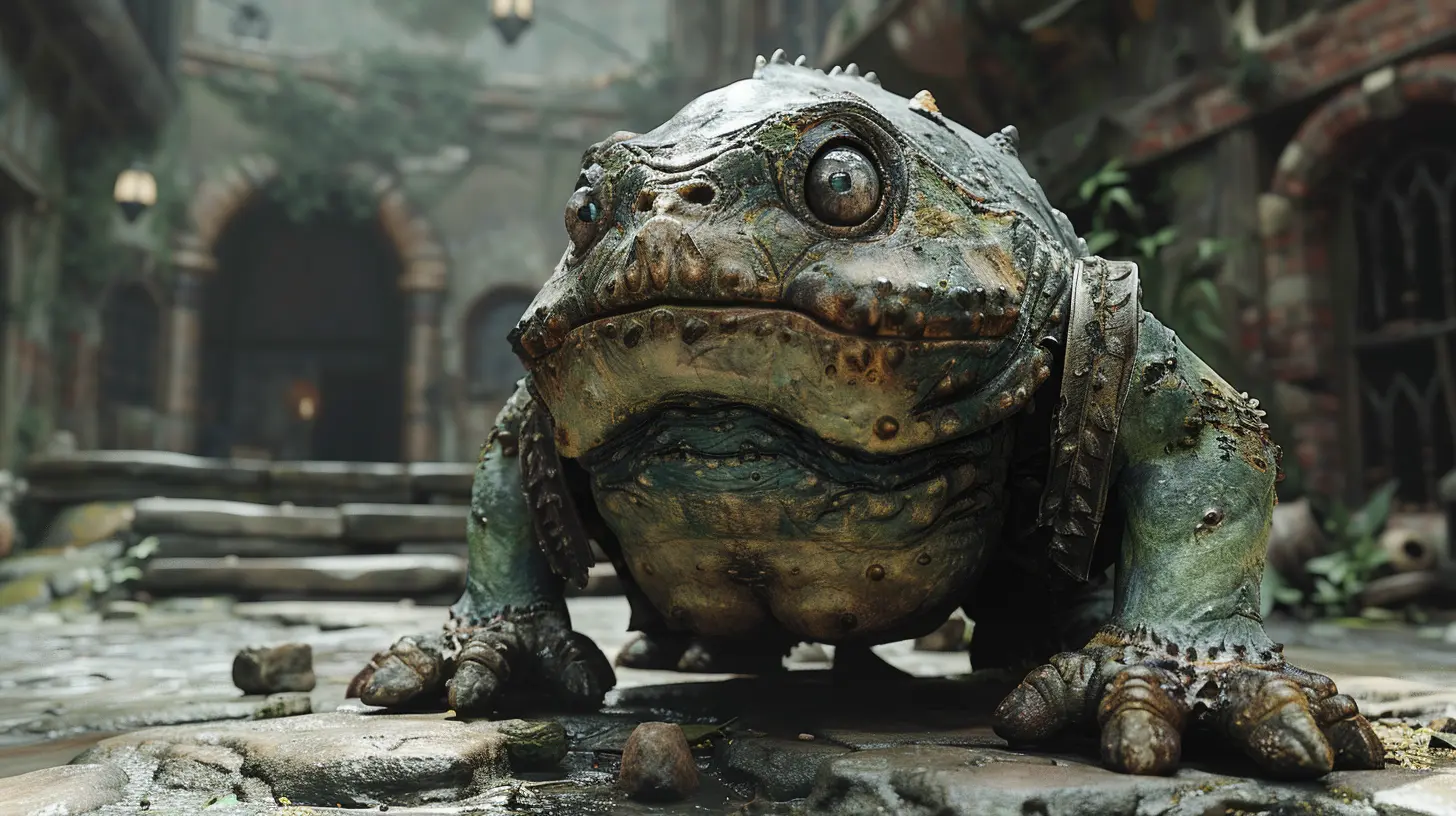
Why Are Normals So Freaking Important?
Alright, let’s get real—you might be thinking, “Okay, cool, normals exist. Big whoop.” But here’s the tea: Without normals, 3D models would be flatter than a pancake left out overnight. Let’s break it down a bit so you can truly appreciate why normals deserve your utmost respect.1. Normals Make Things Look 3D (Duh)
Normals are the reason we believe that digital objects have form and dimension. They tell the rendering engine how light should behave when it hits a surface. It’s like a digital cheat code to fool our eyes into seeing something that isn’t physically there.For instance, take a cube. Simple, right? Now add normals, and suddenly your cube has sharp, distinct edges and realistic shading that makes it look like you could reach out and touch it. Normals are the difference between “meh” and chef’s kiss.
2. They Save Processing Power
Normals don’t just make things pretty—they’re also super practical. Rendering a high-poly 3D model in real time (like during gameplay) can be a nightmare. Nobody wants their game to lag just because of a photorealistic tree. Normals help reduce the need for a bazillion polygons by faking details like bumps or grooves with clever shading. This is called normal mapping, and it’s a lifesaver for game developers who want their worlds to look stunning without melting your graphics card.Imagine trying to sculpt every pore on a character’s skin. Yeah, no thanks. A well-done normal map can simulate all those details while keeping your file size manageable. You’re basically faking it till you make it, and nobody can tell.
3. They Enhance Materials and Textures
You know that fancy leather texture on your car seat in a racing game? Or the gritty surface of a cobblestone path in an open-world RPG? Normals are working overtime to sell the illusion of texture. Even if the surface itself is flat as a sheet of paper, normal maps add depth and realism that draw players into the world.
Types of Normals: Breaking It Down
Not all normals are created equal. Depending on your project, you might encounter a few different types. Let’s do a quick breakdown:1. Vertex Normals
These are the bread and butter of 3D modeling. Vertex normals are calculated for each vertex (corner) of a model and are used to determine how light interacts with the surface of polygons. If you’ve ever noticed the way light smoothly transitions across a rounded object, you can thank vertex normals.2. Face Normals
Face normals deal with individual polygons and point perpendicular to the surface of that face. They’re like little “this way up” stickers for the rendering engine. While they’re super useful, they can sometimes cause shading artifacts if not handled correctly.3. Normal Maps
These are the real MVPs in game development. Normal maps are essentially 2D textures that simulate the appearance of fine details—like cracks, bumps, or scratches—without adding extra geometry. They’re like makeup contouring: faking depth with shading. And just like contouring, a good normal map can make or break a look.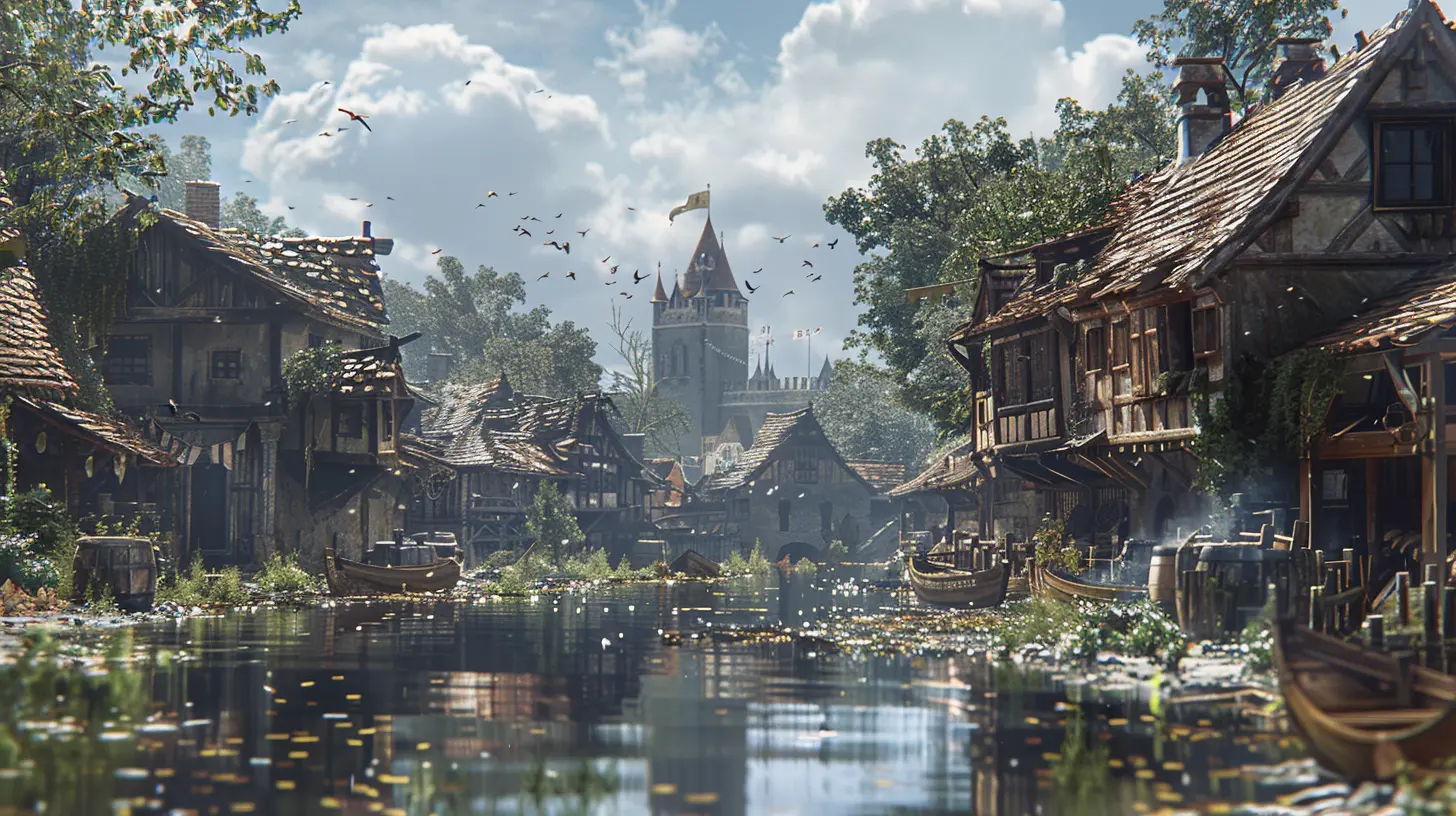
The Science Behind Normal Maps: How They Work
Alright, let’s get a little technical for a sec. Normal maps work on the concept of tangent space. Instead of pointing directly outward, like regular normals, tangent space normals are relative to the surface they’re on. Confused? Don’t worry, let’s oversimplify:Think of tangent space like the GPS for light. It helps the rendering engine figure out how to apply the normal map’s details, no matter how the object is rotated or positioned. The result? Your 3D model looks consistently amazing from every angle.
Tips and Tricks for Working with Normals
So now that you’re a normals expert (okay, almost), let’s talk about how you can actually use them to step up your 3D game.1. Always Double-Check Normal Orientation
Nothing kills a render faster than inverted normals. If your model looks inside-out or weirdly transparent, chances are the normals are flipped. Most 3D software has tools to visualize and fix this, so keep an eye out.
2. Bake Normal Maps with Care
Baking is where the magic happens, but it’s also where things can go horribly wrong. Ensure your high-poly and low-poly models are perfectly aligned, and adjust your bake settings for optimal results.
3. Learn to Read Normal Maps
It might look like a psychedelic mess at first, but normal maps actually make a lot of sense once you know what to look for. The RGB colors correspond to different directions in tangent space. It’s like a secret code for 3D artists—once you crack it, you’ll feel unstoppable.
Normals in Gaming: A Love Story
Now, let’s zoom out and look at the bigger picture. Normals aren’t just for technical 3D artists—they’re essential to creating immersive worlds in gaming. From the gritty post-apocalyptic landscapes of The Last of Us to the vibrant fantasy realms of The Witcher 3, normals are hard at work making it all look mind-blowingly good.Without normals, characters wouldn’t have realistic skin, objects wouldn’t have believable textures, and environments would feel… well, fake. Normals help bridge the gap between imagination and reality, keeping players hooked for hours.
Final Thoughts: Give Normals the Credit They Deserve
Normals might not be the flashiest part of 3D modeling, but they’re undeniably one of the most important. These invisible little helpers work tirelessly to add depth, realism, and beauty to digital creations. Whether you’re a seasoned game dev or just starting out in the world of 3D, understanding normals will take your work to the next level.So next time you boot up Blender or Maya, take a moment to appreciate the power of normals. Trust me, your models (and your audience) will thank you.
all images in this post were generated using AI tools
Category:
Video Game GraphicsAuthor:

Brianna Reyes
Discussion
rate this article
2 comments
Uzi Heath
Exploring how normals enhance 3D models' realism and detail, transforming virtual experiences profoundly.
February 21, 2026 at 5:14 AM

Brianna Reyes
Thank you! Normals truly are essential for adding depth and realism, allowing 3D models to engage users in immersive experiences.
Lark Reed
Normals: the unsung heroes of 3D graphics—turning flat polygons into breathtaking worlds by adding depth and dimension. Game on!
August 25, 2025 at 4:16 PM

Brianna Reyes
Absolutely! Normals truly are essential for adding realism and depth to 3D graphics, transforming simple shapes into immersive experiences. Game on, indeed!
