How to Assemble a Gaming Chair Without the Headache
16 May 2026
If you’ve just unboxed a brand-new gaming chair and are staring at a pile of screws, bolts, levers, and cushions like it's a DIY boss battle—don’t panic.
You’ve made it to the right place.
Assembling a gaming chair doesn’t have to feel like deciphering ancient hieroglyphs or building IKEA furniture with no instructions. With a bit of prep, a dash of patience, and this guide, you’ll be sitting like a throne-wielding legend in no time—without pulling your hair out.
Let’s break it down step-by-step and make assembling your gaming chair as entertaining as your next gaming session.
Why Assembly Feels Like a Boss Fight (And How to Beat It)
Ever tried assembling furniture and ended up with “extra” pieces? Yeah, we’ve all been there.Gaming chairs often come with multiple components, vague instructions, and tiny tools made from unicorn tears (or so it feels). But don’t worry—you don’t need an engineering degree to get this done.
All you need is a clear game plan, a bit of patience, and maybe a playlist to keep it fun.
What You'll Need Before You Start
Let’s get your inventory sorted. Before you dive into the chaos, gather your tools and prep your space.? Tools Checklist:
- Allen wrench (usually included in the box)- Phillips-head screwdriver
- Rubber mallet (optional but helpful)
- A soft mat or towel (to avoid scratches)
- A cup of coffee (or energy drink, because vibes matter)
Lay everything out. Check the parts against the manual. Missing something? Don’t fake it till you make it—contact the manufacturer.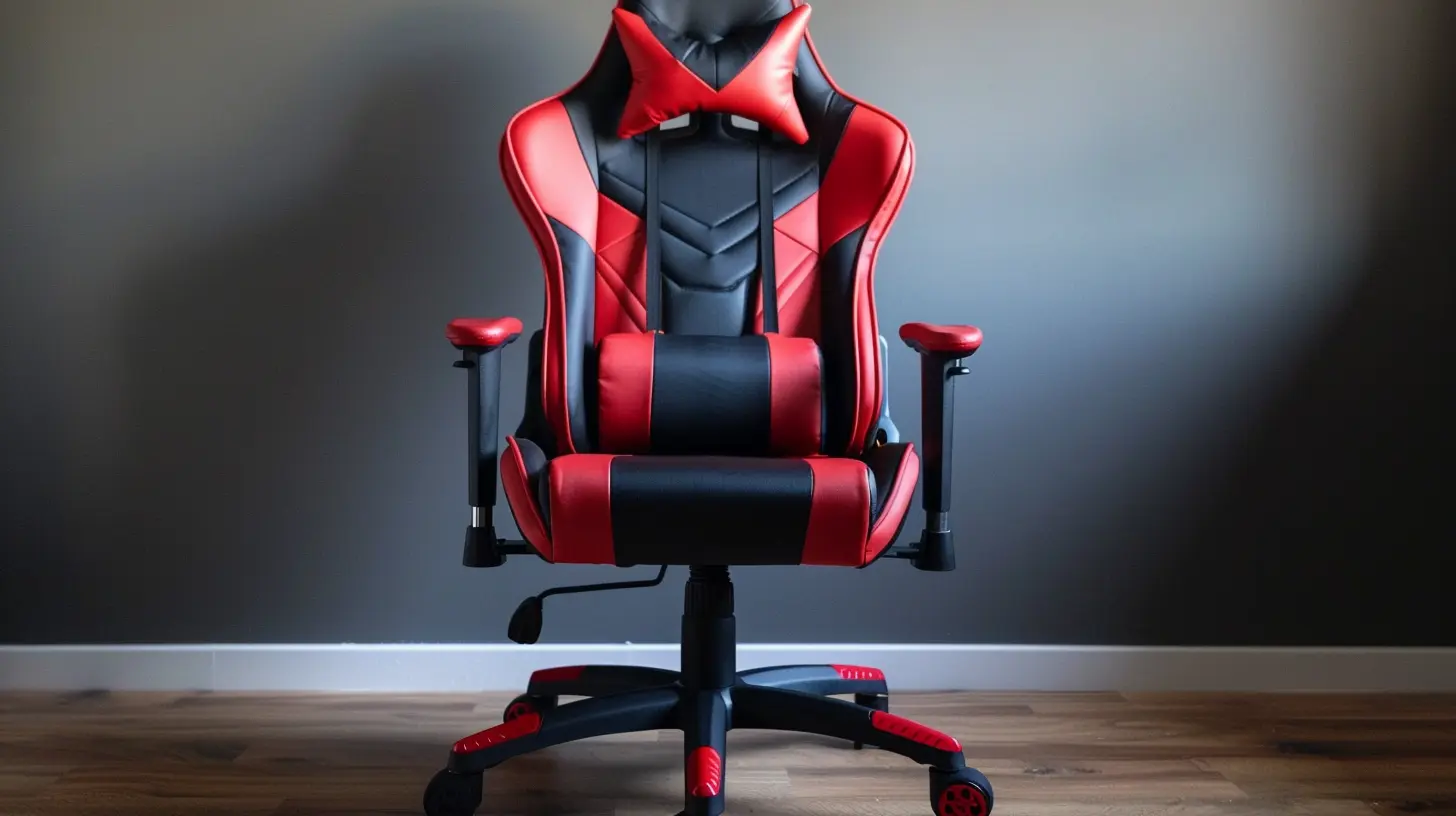
Step 1: Unbox Like a Pro
First thing’s first: treat the unboxing like loot from a treasure chest. Organize each part into groups—like you would manage your inventory in a game. Keep similar parts together (screws here, cushions there). Trust me, future you will thank you later.Pro Tip: Keep the box nearby just in case you need to return anything or use the cardboard as a clean assembly surface.
Step 2: Identify the Main Components
Most gaming chairs follow a similar layout regardless of brand. You’ll likely find the following:- Seat cushion (often the largest piece)
- Backrest
- Armrests (left & right)
- Gas lift & telescoping cover
- Wheel base & casters
- Screws, washers, bolts (always extra confusing)
- Allen wrench and/or basic tools
- Instruction manual (sometimes helpful, sometimes... not)
Lay them out in “zones” like you’re building a mini workstation.
Step 3: Attach the Casters to the Base
Flip the wheelbase (that spider-looking star thing) upside down and push the casters (wheels) into their sockets. It should be a snug fit—some might require a bit of force.If they won’t go in easily, try a gentle tap with a rubber mallet, not a sledgehammer. We’re building a chair, not forging a sword.
Once all five wheels are clicked into place, flip the base back over.
Step 4: Insert the Gas Lift
Now drop the gas lift (that metal cylinder) into the center of the wheelbase. Slide the telescoping plastic cover over it to give it that slick, finished look later.Boom. You’ve built the foundation. That’s your XP level-up right there.
Step 5: Attach the Mechanism Under the Seat
Flip your seat cushion upside down and locate the holes where the metal tilt mechanism attaches. Use the provided screws and your trusty Allen wrench to fasten it.Pay attention to orientation here! Usually, there’s a front/back arrow on the mechanism. Mount it backward and you’ll be leaning the wrong way during intense gaming sessions—not ideal.
Tighten everything but don’t overdo it. You're not arm-wrestling the bolts, just making them snug.
Step 6: Connect the Backrest to the Seat
This is usually the trickiest part, so breathe.Hold the backrest upright against the seat cushion. Line up the bracket holes. You may need a second person here unless you’re an octopus who grew extra hands.
Once aligned, insert the bolts and hand-tighten them first. Then go back and secure them fully with your Allen wrench.
Remember: don’t force anything. If it’s not lining up, double-check placement. Rushing at this stage could strip threads or damage the bracket.
Step 7: Attach the Armrests
Some chairs come with pre-installed armrests. Lucky you. If not, you’ll need to bolt them onto the sides of the seat or onto brackets under it.Check left from right (they’re usually labeled), align holes, and screw them in place.
Pro Tip: If your armrests are adjustable (4D, 3D, etc.), make sure to set them to neutral or center position to avoid weird angles later.
Step 8: Pop the Seat Onto the Base
Alright, time to bring it all together.Lift your newly assembled seat (backrest and all) and gently place it onto the gas lift spindle protruding from the wheelbase. It should slide right in.
Sit down slowly to lock it in place.
Yes, literally sit on your progress—and feel proud.
Step 9: Install Lumbar and Neck Pillows
Most gaming chairs throw in extra comfort items like lumbar support and headrest pillows. Attach these using the built-in straps or clips through the cutouts in the backrest.Adjust until they feel right. These can make a HUGE difference during marathon gaming sessions.
Step 10: Final Checks and Adjustments
Spin, lean, tilt, recline—check that all moving parts work smoothly. If something feels stuck or creaky, go back and recheck the bolts.Also, tighten all screws once again as a precaution. Sometimes during the build, things shift slightly.
Congrats! You did it. You just unlocked the “Furniture Assembly Master” achievement.
Bonus Tips to Avoid the Rage Quit
Let’s be honest—building furniture can test your patience. So here are some bonus hacks to avoid a rage quit mid-assembly:? Play a Podcast or Music
Keeps your mood up and makes time fly.? Use Bright Lighting
You don’t want to squint at tiny bolts in low light.⌚ Take Breaks
If a step is frustrating, walk away for a minute. You’ll come back with fresh eyes (and fewer rage points).? Tag Team It
Having someone hold parts while you bolt them in can save you time—and back pain.? Take Photos
Before you unbox, snap pics of how things were packaged. It helps if you need to return things or re-check part numbers.What If Something Goes Wrong?
Don’t panic. If the chair feels wobbly or something's off:- Double-check every screw or bolt.
- Re-read the manual (yes, again).
- Check for mislabeled parts.
- Watch a video tutorial for your specific chair model.
Still stuck? Reach out to customer support. Most companies are actually pretty decent when it comes to helping out.
How Long Should Assembly Take?
For most folks, it takes anywhere from 30 to 60 minutes, depending on the complexity of the chair and your experience level.Some high-end chairs with more features (like footrests, massage functions, or reclining levers) might take a bit longer. But hey, you’ve got this.
Final Thoughts: Sit Like a Boss
Look at you—sitting pretty in your fully assembled gaming throne, ready to take on any boss fight, battle royale, or 12-hour work session. Feels good, doesn’t it?Assembling a gaming chair doesn’t have to be a jigsaw puzzle from hell. With a little guidance and a chilled-out approach, it can actually be a satisfying side quest. One where the reward is better posture, comfier gaming, and a stylish new addition to your setup.
So next time someone says, “How did you put that together?” just smile and say, “Like a boss.”
Happy gaming. And don’t forget—your chair should support you, not stress you.
all images in this post were generated using AI tools
Category:
Gaming ChairsAuthor:

Brianna Reyes
Discussion
rate this article
1 comments
Bailey McNair
Can't wait to see these tips in action... any shortcuts?
May 21, 2026 at 5:01 AM